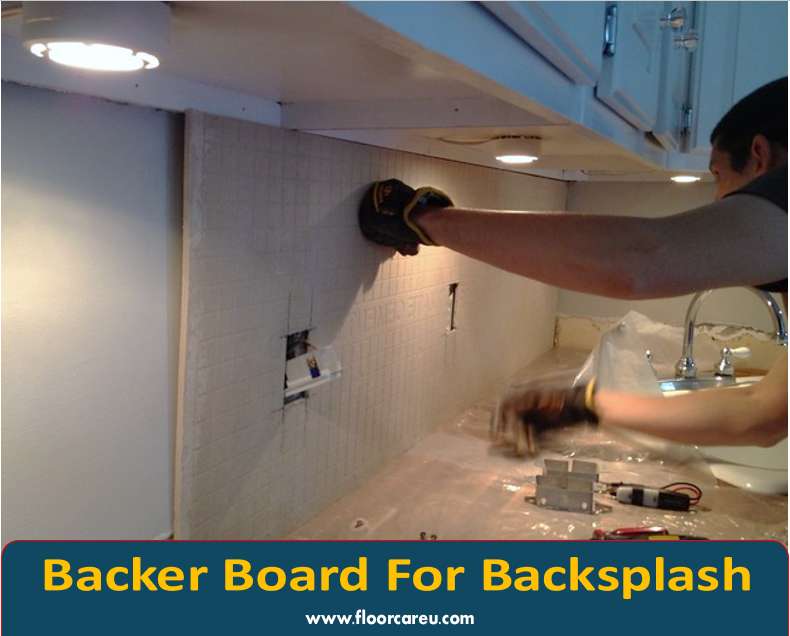
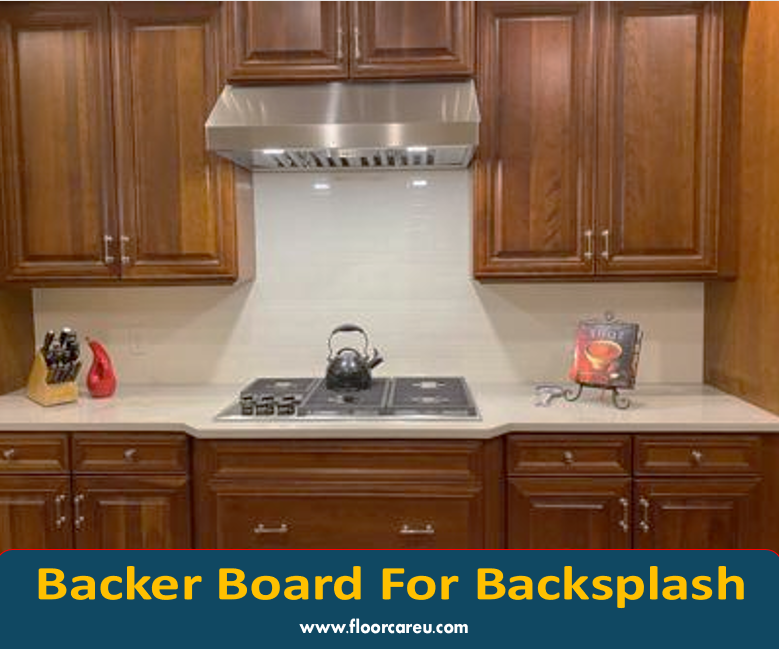
Backer Board For Backsplash: A Backer board is not necessary for a backsplash installation if the existing surface is smooth and flat. However, using a tile backer (such as a cement board) is the best option for a more durable and long-lasting result.
It may cost slightly more, but it is worth the investment for better tile adhesion and prevention of moisture damage. Installing tile directly on drywall is also an option, but removing the tile in the future may be more challenging without damaging the drywall.
Overall, a backer board is recommended for optimal results in a backsplash installation.
Benefits Of Using Backer Board
Enhance your kitchen with the backer board for the backsplash, ensuring durability and moisture resistance for your tiles. Enjoy a seamless installation process and long-lasting results with the superior support provided by backer boards. Elevate your space with a reliable foundation for your stylish kitchen backsplash.
Durability And Strength
The Backer board is known for its exceptional durability and strength, making it the ideal choice for a backsplash installation. Unlike regular drywall, which can be prone to cracking and damage over time, the backer board provides a solid and sturdy surface that can withstand the demands of daily use. Its robust construction ensures that your backsplash will remain intact and free from unsightly cracks or chips, keeping your kitchen looking beautiful for years. With the backer board, you can know that your backsplash is built to last.
Moisture And Mold Resistance
One of the key benefits of using a backer board for your backsplash is its resistance to moisture and mold. Backsplashes are often exposed to water, steam, and humidity, which can cause conventional materials like drywall to deteriorate and become a breeding ground for mold and mildew. In contrast, the backer board is designed to repel moisture, making it an ideal choice for areas prone to high humidity, such as kitchens and bathrooms.
Using a backer board, you can protect your walls from water damage and prevent mold growth, ensuring a clean and healthy environment in your kitchen. In addition to its durability and moisture resistance, the backer board is also easy to install and provides a stable substrate for tile installation. Its rigid composition allows for efficient and secure tile bonding, resulting in a professional and visually appealing backsplash.
Whether you’re a DIY enthusiast or a professional contractor, using a backer board will streamline the installation process and ensure a long-lasting and beautiful backsplash. Trust in the strength and reliability of the backer board for your backsplash project and enjoy the many benefits it brings.

Types Of Backer Board
When it comes to backsplashes, choosing the right backer board is crucial to ensure a durable and long-lasting installation. Different types of backer boards offer various benefits depending on the project requirements. Let’s delve into the options available:
Cement Backer Board
- Durable and strong
- Excellent for wet areas like kitchens and bathrooms
- Resistant to mold and mildew
Waterproof Board Options
- Johns Manville GoBoard Waterproof Backer Board
- Durock EdgeGuard Cement Board
- Schluter KERDI-BOARD Building Boards – Panels
- Wedi Building Panel Waterproof Tile Backer Board
- Schluter KERDI-BOARD Building Panel
- James Hardie Cement Board
These waterproof board options provide added protection against moisture, making them ideal choices for areas prone to water exposure.
Choosing The Right Backer Board
Selecting the appropriate backer board is crucial for a successful outcome when installing a backsplash. This decision impacts the durability and longevity of your backsplash, ensuring it withstands daily wear and moisture exposure.
Consideration Of Wall Surface
Before choosing a backer board, evaluate the condition of your wall surface. Ensure it is smooth and flat to provide a stable foundation for the backsplash installation.
Tile Compatibility
Opt for a backer board compatible with the tiles you will use for your backsplash. Certain backer boards are designed to work well with different tile materials, ensuring a secure bond and professional finish.

Installation Process
When installing a backsplash, it is recommended to use a tile backer board, such as a cement board or HardiBacker. These backer boards provide a smooth and flat surface for tile installation and are specifically designed for this purpose. Drywall can also be used if the surface is smooth and flat.
Preparation Of Backsplash Area
Before installing the backer board for your backsplash, properly preparing the area is crucial. Follow these steps:
- Clear the area: Remove any existing backsplash, ensuring the surface is clean and debris-free.
- Measure and plan: Measure the dimensions of your backsplash area and calculate the amount of backer board needed. Plan the layout, considering any outlets or obstacles that may require cutting.
- Protect the surrounding area: To prevent damage during the installation process, cover countertops and adjacent walls with plastic sheets or drop cloths.
Step-by-step Installation Guide
Now that you have prepared the area let’s dive into the step-by-step installation process:
Step 1: Gather the necessary tools and materials
Make sure you have all the tools and materials you need for the installation, including:
- Backer board
- Utility knife
- Screwdriver
- Measuring tape
- Pencil
- Screws
- Trowel
- Thin-set mortar
- Fiberglass mesh tape
Step 2: Cut the backer board to size
Using a utility knife, carefully cut the backer board to fit the dimensions of your backsplash area. Take precise measurements and mark the cutting lines with a pencil before making the cuts.
Step 3: Attach the backer board to the wall
Using a screwdriver, secure the backer board to the wall studs or existing drywall using screws. It’s important to place screws every 8 to 12 inches to ensure a secure and stable installation.
Step 4: Apply fiberglass mesh tape
Apply fiberglass mesh tape over the seams between each piece of backer board. This will reinforce the joints and prevent future cracks or movement.
Step 5: Apply thin-set mortar
Using a trowel, apply thin-set mortar to the surface of the backer board. Spread the mortar evenly, ensuring complete coverage over the entire area.
Step 6: Install the tiles
Once the thin-set mortar is applied, it’s time to install the tiles of your choice. Press each tile firmly into the mortar, creating a level and even surface. Use tile spacers to maintain consistent spacing between each tile.
Step 7: Allow the mortar to cure
After installing the tiles, allow the thin-set mortar to cure according to the manufacturer’s instructions. This is usually around 24 to 48 hours, but check the specific recommendations for the mortar you use.
Step 8: Grout the tiles
Once the mortar has cured, it’s time to grout the tiles. Apply the grout using a grout float, ensuring all the gaps between the tiles are filled. Wipe away any excess grout with a damp sponge.
Step 9: Clean and seal the backsplash
Finally, clean the backsplash surface using a mild cleanser and a sponge. Once fully dries the surface, apply a tile and grout sealer to protect the backsplash from stains and moisture.
And there you have it – a beautifully installed backsplash with backer board!
Debunking Common Myths
When installing a backsplash, many misconceptions exist about using the backer board. Debunking these myths is essential for making informed decisions about the right materials for your project. Let’s explore some common misunderstandings about backer boards for backsplashes.
Do You Need a Backer Board?
Some may question the necessity of using a backer board for a backsplash, especially when drywall is already in place. However, it’s important to recognize that backer board serves a critical purpose in ensuring your tile installation’s long-term durability and stability.
Comparison With Drywall
When considering whether to use a backer board or drywall for a backsplash, it’s vital to understand the differences and benefits of each. While drywall may seem like a viable option, it lacks the water resistance and strength that the backer board provides, making it less suitable for withstanding the moisture and weight of the tile. As a result, utilizing a backer board is crucial for a successful and lasting backsplash installation.
In conclusion, understanding the role of a backer board and dispelling the myths surrounding its necessity is essential for achieving a reliable and durable backsplash. Choosing the right materials ensures a long-lasting and visually appealing result for your kitchen or bathroom.
Conclusion And Tips
In conclusion, utilizing a backer board for backsplash installation can significantly enhance the durability and longevity of the finished project. With the right backer board installed, you can ensure your tiles remain firmly in place and prevent moisture damage over time. Furthermore, properly installing the backer board is crucial for achieving a professional and high-quality outcome.
Final Considerations
Before embarking on your backsplash project, it’s essential to carefully select the appropriate backer board that suits your specific requirements. Consider the thickness and material of the backer board and its compatibility with your chosen tiling material. Ensuring proper waterproofing measures and sturdy installation will also contribute to a long-lasting and visually appealing backsplash.
Expert Tips For Successful Backer Board Installation
- Choose a high-quality backer board designed for wet areas, such as kitchens and bathrooms, to ensure adequate moisture resistance.
- Utilize appropriate adhesive and fasteners to secure the backer board firmly in place, following the manufacturer’s guidelines for installation.
- Before tiling, ensure the backer board surface is clean, level, and debris-free to promote optimal tile adhesion.
- Apply a waterproofing membrane or sealer to the backer board to safeguard against moisture infiltration, especially in areas prone to water exposure.
- Seek professional guidance or tutorials to master the correct techniques for cutting and fitting backer boards around obstacles and corners, ensuring a precise and seamless installation.
Frequently Asked Questions For Backer Board For Backsplash
Is a Backer Board Necessary For Backsplash?
A backer board is necessary for a backsplash. It provides a smooth and flat surface for tile installation, and without it, the drywall might be ruined during tile removal.
What Is The Best Backer Board For Backsplash?
The best backer board for backsplashes is a tile backer, such as cement board, DuRock®, or HardiBacker®. It’s designed specifically for tiling and provides a suitable backing surface. While it’s slightly more expensive than drywall, it’s small compared to the overall tile installation.
How Thick Is Backer Board For Backsplash?
The backer board for a backsplash is typically 1/2-inch thick. It is unnecessary to tear out the drywall and install the backer board unless the surface is uneven or not smooth. You can directly install tiles on the drywall, using drywall shims to level the surface.
How Do You Install Backer Board For Backsplash?
To install the backer board for a backsplash, cut the board to size, secure it to the wall with screws, tape, and mud the seams for reinforcement.
Can I Install A Backsplash Without a Backer Board?
Yes, a flat existing surface is possible without a backer board.
Which Backer Board Is Ideal For A Backsplash?
Choose tile backers such as DuRock® and HardiBacker® for best results.
What Is The Recommended Thickness For Backer Board?
The recommended thickness for backsplash is typically 1/2 inch.
Conclusion
Choosing the right backer board for your backsplash is crucial for a successful installation. While it may not be necessary to tear out your drywall and install a backer board for every project, using a suitable backing, such as a cement board, can provide added stability and protection.
Tile backer boards like DuRock® or HardiBacker® are specifically designed to ensure a smooth and flat surface for your tiles. Investing more in the right materials can save you time and trouble.
Choose wisely and enjoy your beautiful backsplash for years to come.


