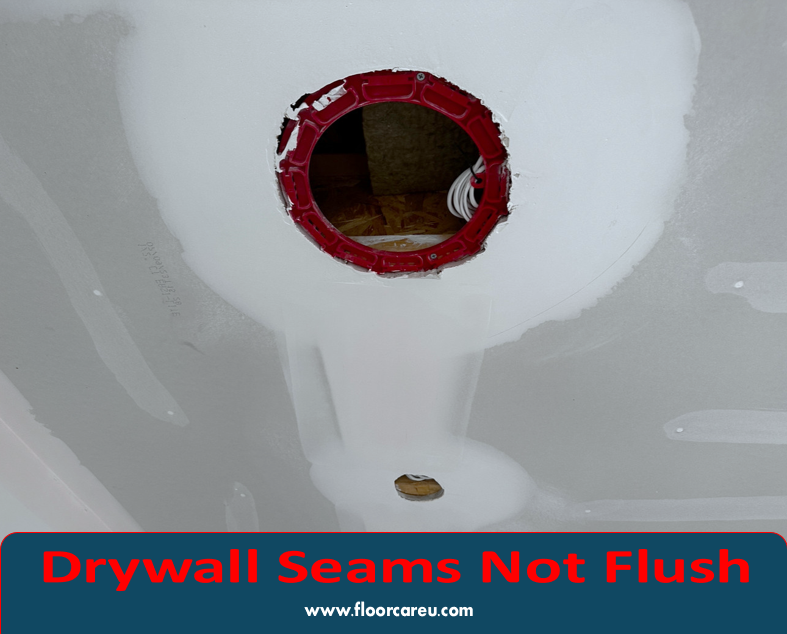
Drywall Seams Not Flush: Drywall seams not flush can be fixed using a drywall sanding sponge to smooth the repair area’s edges and blend its transition with the existing wall. If the patch isn’t flush with the wall, feather the compound outward in progressively thinner layers to ensure a flush appearance.
Proper feathering and blending will help make the patched area look seamlessly integrated with the rest of the wall. Uneven drywall seams can be a common issue during drywall installation or repair. Fixing them requires careful attention to detail and proper techniques.
We will explore the causes of uneven drywall seams and provide practical solutions for addressing this issue. Whether you are a DIY enthusiast or a professional contractor, understanding how to fix uneven drywall seams is essential for achieving a smooth and professional-looking finish. We will discuss various methods and tips for repairing uneven drywall seams, helping you achieve a flawless and seamless drywall surface.
Expert Tips For Fixing Drywall Seams
Finding The Root Cause Of Unflushed Seams
When encountering unflushed drywall seams, it’s crucial to identify the root cause before proceeding with any fixes. Common causes include improper installation, structural movement, or settling, resulting in misaligned seams. Inspecting the underlying structure and ensuring it’s stable is essential to prevent the recurrence of unflushed seams.
Using Makeshift Shims For Uneven Drywall
To address uneven drywall seams, one effective technique is using makeshift shims. This involves placing small, flat items, such as cardboard or veneer strips, behind the misaligned areas to create a level surface. These makeshift shims can be secured in place with drywall screws and then covered with joint compound. This approach helps to create a smooth and flush surface, rectifying the uneven seams effectively.
Instant Solutions For Misaligned Drywall Seams
For homeowners seeking quick solutions to misaligned drywall seams, dampening a drywall sanding sponge can be an effective fix. Gently press the sanding sponge along the edge of the repair area, rotating it in a circular motion to smooth the edges and blend the transition with the existing wall. This instant fix provides a seamless finish, eliminating the visual discrepancies caused by misaligned seams.
Common Issues With Unflushed Drywall Seams
Drywall seams not being flush can lead to several common issues that affect your walls’ overall appearance and stability.
Visible Seam Causes
One of the causes of visible drywall seams is improper installation techniques, such as inadequate taping or mudding.
Sagging Drywall Seams
Sagging drywall seams can occur due to excess weight on the wall, improper support, or inadequate joint compound application.
Drywall Patch Problems
Drywall patch problems may arise if the patch is not flush with the wall surface, leading to a noticeable and unappealing finish.
Pro Tips For Repairing Unflushed Seams
When it comes to drywall installation, achieving perfectly flush seams can be a challenge. Uneven or unflushed seams can create an unsightly appearance, ruining the overall aesthetics of the wall. Luckily, some pro tips and techniques can help you repair unflushed seams and achieve a seamless finish.
Feathering Compound For Flush Appearance
Feathering compound is a must-have to achieve a flush appearance and seamlessly blend the repair area with the existing wall. It is a type of joint compound specially formulated with a lightweight consistency, making it easier to spread and feather out.
Using a feathering compound is fairly straightforward. Start by applying a thin compound layer over the unflushed seam, extending it slightly beyond the repair area. Then, using a drywall knife or trowel, gently feather out the compound by gradually smoothing and blending it with the surrounding wall. Repeat this process, applying additional thin coats until the seam is perfectly flush with the rest of the wall.
Taping Techniques For Uneven Drywall Joints
Another effective technique for repairing unflushed seams is proper taping. By using the right taping techniques, you can ensure that the joints are smooth and seamless.
First, apply a layer of joint compound to the seam, using a drywall knife to flatten it out. Then, place a drywall tape over the seam, pressing it firmly into the compound. Use your drywall knife to remove any air bubbles or ridges under the tape.
Next, apply another layer of joint compound over the tape, extending it slightly beyond the edges. Use your knife to smooth and feather out the compound, eliminating any visible transition lines. Repeat this process, alternating between applying tape and compound, until the seam is flush and invisible.
Handling New Drywall And Existing Wall Alignment Issues
When you encounter new drywall and existing wall alignment issues, it’s important to address them before attempting to repair unflushed seams. Properly aligning the new drywall with the existing wall can make a significant difference in achieving flush seams.
If the new drywall is slightly misaligned with the existing wall, you can use shims or wedges to adjust its position. Insert the shims between the wall and the new drywall, gradually adjusting the placement until it aligns perfectly. Once the drywall is properly aligned, you can proceed with the taping and feathering techniques mentioned earlier.
In case of severe misalignment, removing the affected section of drywall and reinstalling it may be necessary to ensure a flush finish. This process can be more time-consuming but will ultimately result in a professional-looking outcome.
Repairing unflushed seams can be challenging, but with the right techniques and tools, you can achieve seamless and visually pleasing results. Whether you’re using a feathering compound, mastering taping techniques, or addressing alignment issues, these pro tips will help you overcome the challenges and achieve a flawless finish.
Expert Advice From Drywall Professionals
When it comes to drywall installation and repair, achieving perfectly flush seams can be a challenging task. Uneven drywall seams not only affect the aesthetics of your walls but can also compromise the structural integrity of the entire surface.
Insights From Drywall Repair Specialists
Drywall repair specialists have encountered various scenarios where drywall seams are not flush. To ensure seamless results, they emphasize meticulous attention to detail when taping, mudding, and finishing. Additionally, they recommend addressing any underlying structural issues that may be causing the uneven seams.
Tips For Diy Drywall Repair Projects
For those embarking on DIY drywall repair projects, here are a few tips shared by the experts:
- Use proper tools: Invest in high-quality taping knives, sanding sponges, and joint compounds to achieve smoother and more uniform results.
- Ensure proper installation: Pay attention to the initial installation of drywall sheets to minimize uneven seams.
- Feather your compound: When patching uneven areas, feather the compound outward to blend the repair seamlessly with the surrounding wall.
- Address underlying issues: If the uneven seams persist, seek professional assistance to diagnose and rectify any underlying structural problems.
Community Experience And Solutions
Drywall seams not being flush can be a common issue homeowners and DIY enthusiasts face. Fortunately, various online communities offer valuable insights and solutions to tackle this problem effectively.
Reddit Threads On Unflushed Drywall Seams
Reddit users often share their experiences and solutions for unflushed drywall seams. Engaging with these threads can provide practical tips and tricks for achieving smooth drywall finishes.
Troubleshooting Unflushed Drywall Seams On Houzz
Houzz, a popular platform for home improvement enthusiasts, is a rich source of information on troubleshooting unflushed drywall seams. Explore discussions and recommendations from experts and fellow homeowners to address this issue efficiently.
Insights From Diy Enthusiasts On Stack Exchange
Stack Exchange offers a platform for DIY enthusiasts to exchange valuable insights on various home improvement topics, including drywall finishing. Discover innovative solutions and expert advice on achieving perfectly flush drywall seams from the vibrant community on Stack Exchange.

Frequently Asked Questions For Drywall Seams, Not Flush
How Do You Fix Uneven Drywall Seams?
To fix uneven drywall seams, dampen a sanding sponge and gently press it along the repair area. Rotate the sponge in a circular motion, then smooth the edges and blend the repair with the existing wall.
Feather compound outward to ensure a flush appearance.
What Happens If Drywall Patch Isn’t Flush With Wall?
If the drywall patch isn’t flush with the wall, feather compound outward to blend it seamlessly.
Why Can I See All My Drywall Seams?
Drywall seams may be visible due to improper installation. Common causes include unevenness, bubbling paper, and cracks. To fix sagging seams, dampen a drywall sanding sponge and gently press it along the edge of the repair area. Smooth the edges and blend the transition with the existing wall.
Feather the compound outward in progressively thinner layers to achieve a flush appearance.
How Do You Fix Sagging Drywall Seams?
To fix sagging drywall seams, lightly dampen a sanding sponge and gently press it along the edge of the repair area. Rotate the sponge in a circular motion to smooth the edges and blend it with the existing wall.
If the drywall patch isn’t flush with the wall, feather the compound outward in progressively thinner layers. Proper installation and using tape or mesh can prevent seams from showing.
How Do I Fix Uneven Drywall Seams?
To fix uneven drywall seams, dampen a sanding sponge and gently press it along the edge of the repair area. Use circular motions to smooth the edges and blend them with the existing wall.
What Should I Do If My Drywall Patch Isn’t Flush With The Wall?
If your drywall patch isn’t flush with the wall, feather your compound outward. Apply progressively thinner compound layers to blend the patched area with the rest of the wall.
Conclusion
You can seamlessly fix those uneven drywall seams in just a few steps for a flawless finish. Watch tutorials for handy tips and tricks. Feel empowered to tackle this DIY project with confidence. Say goodbye to visible seams and hello to smooth walls.
Your home will thank you!


