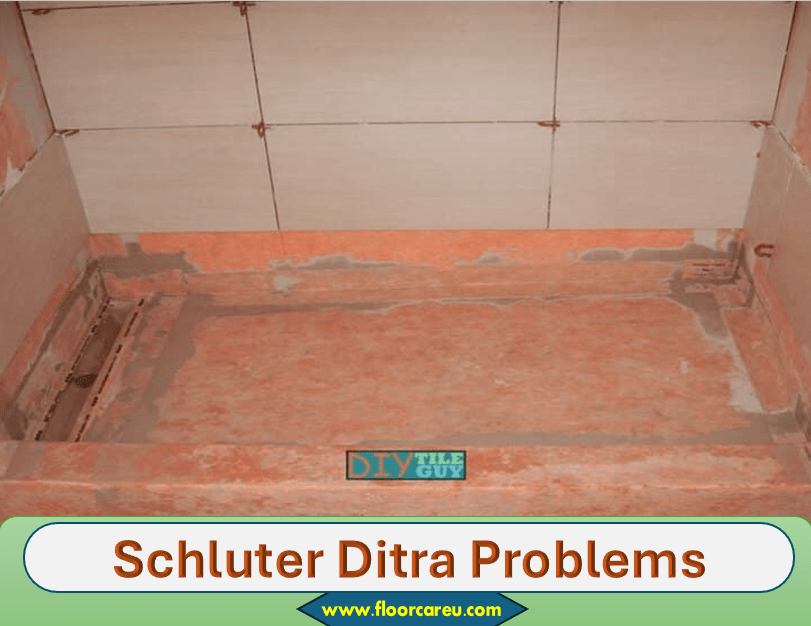
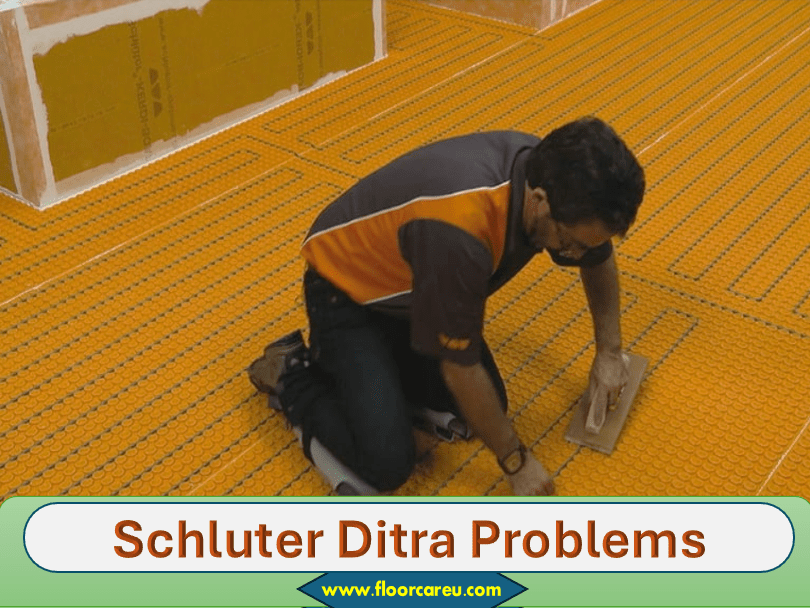
Schluter Ditra Problems: Schluter Ditra problems can be fixed, but it’s crucial to use the right thin-set and apply it correctly. Failed installations are often a result of incorrect thin-set usage or improper application.
Schluter Ditra, a popular uncoupling membrane for tile installations, has been associated with various challenges and complications. Many DIY enthusiasts and professionals have encountered tile failure, loose tiles, and heat system malfunctions. However, addressing these problems requires understanding the potential causes and the correct solutions.
By exploring the common dilemmas associated with Schluter Ditra and learning how to troubleshoot them, you can ensure successful and long-lasting tile installations. This article will delve into various aspects of Schluter Ditra’s problems, from reasons for failure to practical tips for resolving these issues effectively.
Common Issues With Schluter Ditra
Are you encountering issues with Schluter Ditra? Problems arise mainly due to the wrong thin-set application or subpar floor prep, which causes poor adhesion. Avoid setbacks by using the correct thin-set and ensuring proper installation for seamless results.
Inadequate Adhesion
Schluter Ditra’s issues often stem from inadequate adhesion. This can result from improper application techniques, incorrect surface preparation, or using the wrong type of adhesive.
Wrong Thinset Usage
Incorrect thin-set usage is a prevalent problem with Schluter Ditra installations. Using a modified thin-set mortar can lead to bonding failures as it may not cure properly when trapped between the membrane and tiles.
Delamination From Subfloor
Delamination from the subfloor is a serious concern and occurs when the Ditra separates from the substrate due to poor adhesion, inadequate support, or inappropriate installation techniques.

Signs Of Tile/Schluter Failure
Regarding tile or Schluter failure, it’s essential to recognize the signs early to avoid extensive damage and costly repairs.
Loose Tiles
One of the clear indications of a potential Schluter or tile problem is loose tiles. Loose tiles can be caused by improper installation or the failure of the Schluter system to provide sufficient support.
Edges Not Adhering Well
Edges that do not adhere well to the substrate can be a strong indicator of underlying issues with the Schluter system. They could lead to water penetration and eventual tile detachment, posing a significant risk of damage.
Fixing Tile/Schluter Failure
When it comes to tile and Schluter failure, it can be a frustrating and time-consuming experience. However, there are steps you can take to fix the problem and ensure a successful tile installation. This section will discuss the important factors that must be addressed when dealing with tile/Schluter failure, including removing and replacing tiles, proper thin-set application, and ensuring proper subfloor preparation.
Removing And Replacing Tiles
If you encounter tile/Schluter failure, the first step is to remove and replace the affected tiles. This process requires careful handling to avoid further damage to the surrounding tiles and Schluter system. Here are the steps to follow:
-
- 1. Assess the damage: Take a close look at the affected area to determine the extent of the damage and identify any underlying issues. This will help you plan the necessary repairs.
-
- 2. Safely remove the tiles: Carefully remove the grout around the damaged tiles using a grout saw or a similar tool. Then, use a putty knife or a chisel to pry up the tiles gently. Be cautious not to chip or crack the surrounding tiles.
-
- 3. Clean the surface: Once the tiles are removed, clean the surface thoroughly to ensure proper adhesion of the new tiles. Using a scraper or a suitable cleaning solution, remove any remaining adhesive or grout.
-
- 4. Replace with new tiles: Apply a thin, even layer of the appropriate thin-set adhesive to the back of the new tiles, ensuring full coverage. Carefully press the tiles into place, aligning them with the surrounding tiles. Allow the adhesive to cure according to the manufacturer’s instructions before grouting.
Proper thin set Application
To prevent tile/Schluter failure, proper thin-set application is crucial. Here are some guidelines to follow:
-
- Use the right thin set: Choose a thin set mortar compatible with the Schluter system and the type of tile you are installing. Follow the manufacturer’s recommendations to ensure proper adhesion.
-
- Mix the thin set correctly: Follow the instructions on the thin set packaging to prepare a consistent and workable mortar mixture. Avoid adding too much water, as this can weaken the bond.
-
- Apply thin-set evenly: Using a notched trowel, spread the thin set onto the substrate in a smooth, even layer. Ensure the thin set covers the entire area where the tile will be installed.
-
- Back-butter the tiles: Before placing the tiles on the thin-set, apply a thin layer of adhesive to the back of each tile. This will enhance the bond and provide better support.
Ensuring Proper Subfloor Preparation
Achieving a stable and level subfloor is essential for preventing tile/Schluter failure. Here are some key steps to follow:
-
- 1. Check for subfloor deflection: Before installing the Schluter system, ensure that the subfloor is structurally sound and free from excessive deflection. Any movement in the subfloor can lead to cracked tiles and failures in the Schluter system.
-
- 2. Prepare the subfloor: Clean the subfloor thoroughly, removing any debris or loose particles that may affect the bond between the subfloor and the Schluter system. Repair any cracks or uneven areas to create a smooth and level surface.
-
- 3. Apply the Schluter system: Follow the manufacturer’s instructions to properly install the Schluter system, including the Ditra uncoupling membrane. Make sure the membrane is securely adhered to the subfloor.
-
- 4. Test for proper installation:
Before proceeding with tile installation, perform a thorough inspection to ensure the Schluter system is properly installed and functioning as intended. This will help minimize the risk of future failures.
In conclusion, fixing tile/Schluter failure involves carefully removing and replacing tiles, applying thin-set correctly, and ensuring proper subfloor preparation. Following these steps can improve the chances of a successful tile installation and avoid future issues.

Preventative Measures
Improve your Schluter Ditra installations by taking preventative measures, like using the proper thin-set mortar and ensuring correct application techniques. Follow manufacturer guidelines for successful tile projects to avoid potential Schluter Ditra problems and failures.
When preventing Schluter Ditra problems during tile installation, following certain guidelines is essential to ensure a successful outcome. By taking preventative measures, you can avoid potential issues and ensure a long-lasting and visually appealing tile installation. In this section, we will discuss two crucial steps to follow:
Following Manufacturer’s Instructions
One of the key preventive measures is to follow the manufacturer’s instructions provided by Schluter Systems carefully. These instructions are specifically designed to guarantee the proper installation of Ditra and to avoid any potential problems. Here are a few important points to keep in mind:
- Start by thoroughly reading the installation instructions provided by Schluter Systems. Understanding the steps involved and the specific requirements for your project is crucial for success.
- Pay attention to the recommended substrate preparations. Schluter Ditra requires a suitable subfloor with minimal deflection to ensure proper performance.
- Properly prepare the substrate by cleaning it thoroughly and removing any debris, dust, or contaminants that could affect the adhesion of the Ditra membrane.
- Ensure that the thin-set mortar being used is compatible with the Ditra system. A modified thin-set mortar is not recommended, as it may hinder proper curing and adhesion.
- Follow the specific troweling instructions for applying the thin-set mortar to the substrate and embedding the Ditra membrane.
- Ensure to properly secure and overlap the Ditra seams to create a watertight and stable surface for tile installation.
- Allow proper drying and curing time before proceeding with tile installation.
Using Recommended Materials
Another crucial preventative measure is using the recommended materials by Schluter Systems. These materials are specifically engineered to work with the Ditra system and ensure optimal results. Here are a few key points:
- Use the recommended thin-set mortar, specifically formulated for use with the Ditra system. This will ensure proper adhesion and long-term durability.
- Choose the appropriate tile adhesive and grout compatible with the Ditra system. Using the recommended materials will help maintain the integrity of the installation and prevent potential issues.
- When selecting tiles, consider their suitability for the specific application and compatibility with the Ditra system. Some tiles may require additional considerations or preparatory steps before installation.
Adhering to the manufacturer’s instructions and using the recommended materials can significantly minimize the risk of Schluter Ditra problems. These preventative measures will provide a solid foundation for a successful tile installation that will last years.
Faqs About Schluter Ditra
Schluter Ditra has gained significant attention in tile installation as a popular uncoupling membrane. However, various inquiries and uncertainties often surround its usage. Here are some frequently asked questions about Schluter Ditra:
Wait Time Before Tiling
The wait time before tiling over Schluter Ditra depends on the specific type of Ditra being used. For regular Schluter Ditra, waiting for the thin-set mortar to cure before tiling is essential. On the other hand, with Ditra-Heat, once the membrane and the heating cables are installed and tested, you can install the tile without waiting for the thin-set mortar to cure.
Sealing Seams
Properly sealing Schluter Ditra’s seams is crucial to its performance. Using KERDI-BAND or KERDI-FIX, along with unmodified thin-set mortar, ensures the effective sealing of the seams. It’s vital to follow the recommended installation guidelines to guarantee the integrity of the uncoupling membrane.
Importance Of Proper Installation
The proper installation of Schluter Ditra is paramount for the success of the tile assembly. Inadequate installation, such as using the wrong type of thin-set or applying it incorrectly, can lead to issues with the membrane’s overall performance. Additionally, Ditra can only prevent problems if installed correctly, highlighting the significance of adhering to the manufacturer’s installation instructions.
Frequently Asked Questions Of Schluter Ditra Problems
What Happens If You Use Modified Thinset On Ditra?
Using a modified thin-set on DITRA can cause issues as it needs air drying to cure properly. Drying slows between impervious layers like DITRA and tile. Stick to the recommended thin-set for best results.
What Happens If Ditra Doesn’t Stick?
If DITRA doesn’t stick, it’s likely due to an incorrect thin-set or improper application. Ensure proper prep and substrate. DITRA prevents issues but can’t cause them.
How Long Do You Wait To Tile After Installing Ditra?
After installing DITRA, you can tile right away. There is no need to wait for the thinset mortar to cure.
Do I Need To Seal Ditra Seams?
Sealing DITRA seams is not required since the matting is waterproof polypropylene. The only additional step necessary is to seal the seams and floor/wall connections.
Can Schluter Ditra Problems Be Fixed?
Schluter Ditra’s problems can be fixed with the right solutions and proper installation techniques.
What Happens If You Use Modified Thinset On Ditra?
Using a modified thin-set on DITRA can hinder the proper curing and drying, possibly leading to tile installation issues. It is not recommended.
Conclusion
In the world of tile installation, Schluter Ditra’s problems can be a nightmare for anyone. The issues discussed in this post shed light on common mistakes, such as using the wrong thin-set mortar or not following installation directions. It’s crucial to ensure proper adherence to instructions and use the correct materials to prevent future failures.
Understanding and addressing these concerns can lead to successful and long-lasting tile projects.


